

How can I be sad when I have breakfast, lunch, and dinner?
How can I be sad when I have breakfast, lunch, and dinner?
First of all, I've replaced the old header text on the site with a new handmade graphic! You can tell it's handmade because it looks like a 5 year old wrote it (well, a 5 year old that likes loopy l's). Even so, I took an embarrassingly long time working on it. I'll probably try to make a nicer graphic in the future, but this is good enough for today. Oh, but it only shows up on larger screens, so if you're on a phone, please check out my site on your computer!
Anyway, back to your regularly scheduled programming...
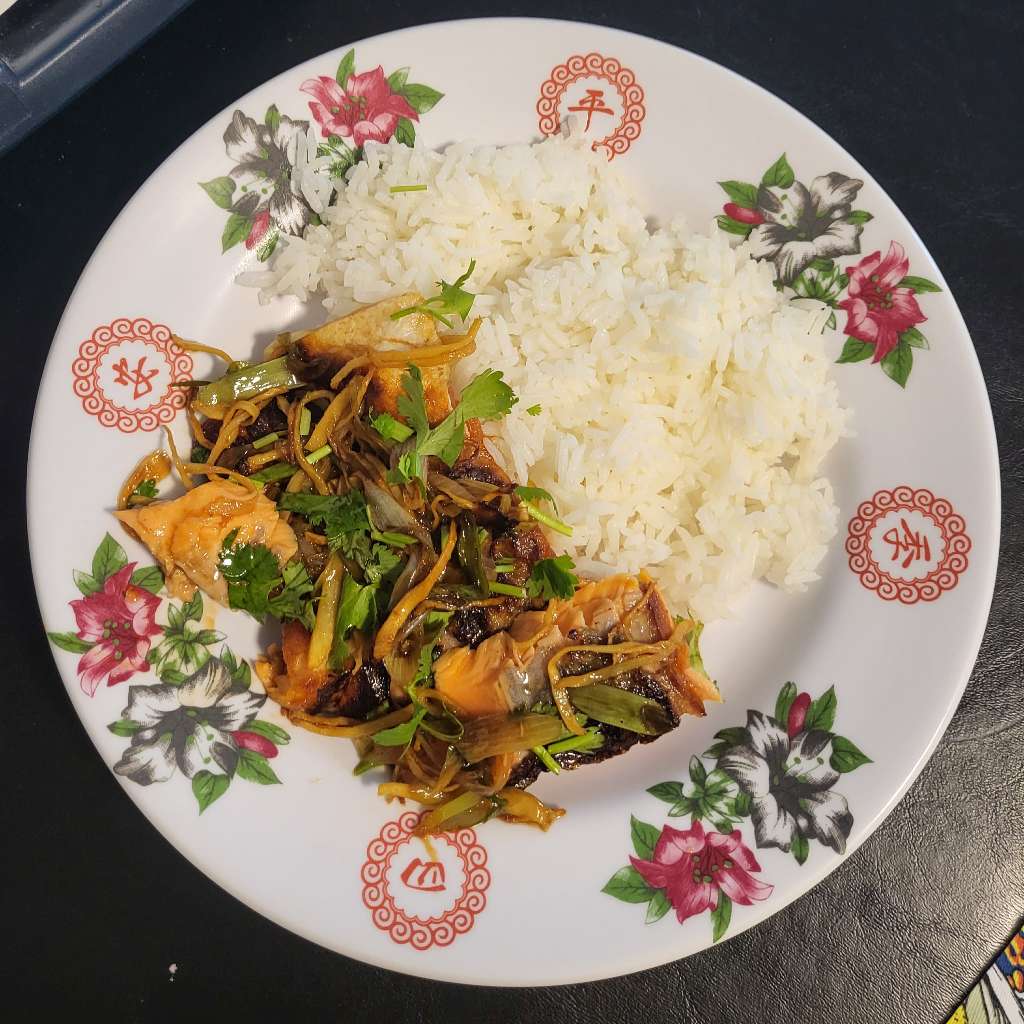
Shortly after my dad's and cousin's visit to help me move into my apartment, I was left with a slightly-larger-than-usual amount of ginger. And I was talking to my sister about it:
It's like, too much ginger for most stir fries, and not enough ginger for chicken, but the right amount for salmon
Jeje姐姐 - big sister, I know exactly what you mean
I'm glad she gets it, because I'm not sure anyone else would.
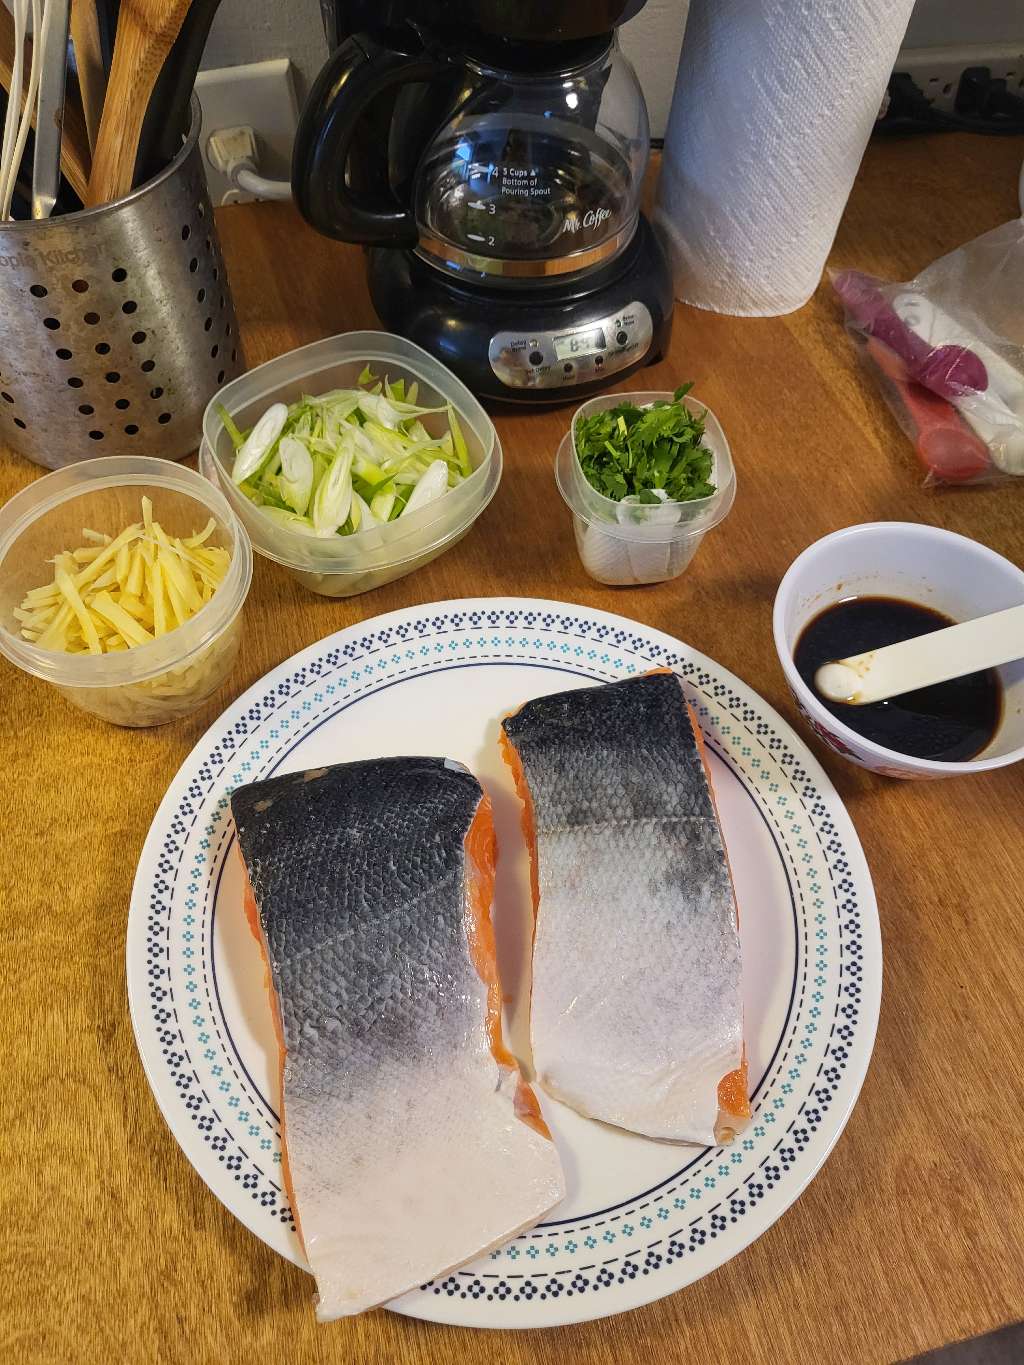
I normally buy ang heu紅魚 - 'red fish' (salmon) from Aldi, but I was feeling a little fancy (and a little lazy) and I wanted to actually be able to eat the skin. The Aldi skin-on salmon is never de-scaled and de-scaling fish is kind of a mess. So I went to Giant Eagle, and I saw that their frozen sashimi grade salmon was on sale for $4.99 for an 8oz fillet!
I'm used to eating steamed salmon with ginger, but I decided I would try something a little different and cook it on the pan. I followed this crispy scallion ginger salmon recipe from Woks of Life because it sounded pretty straightforward, and I swear I've successfully luah烙 - pan fried salmon before, even though I cannot find evidence of it on this blog. 🧐
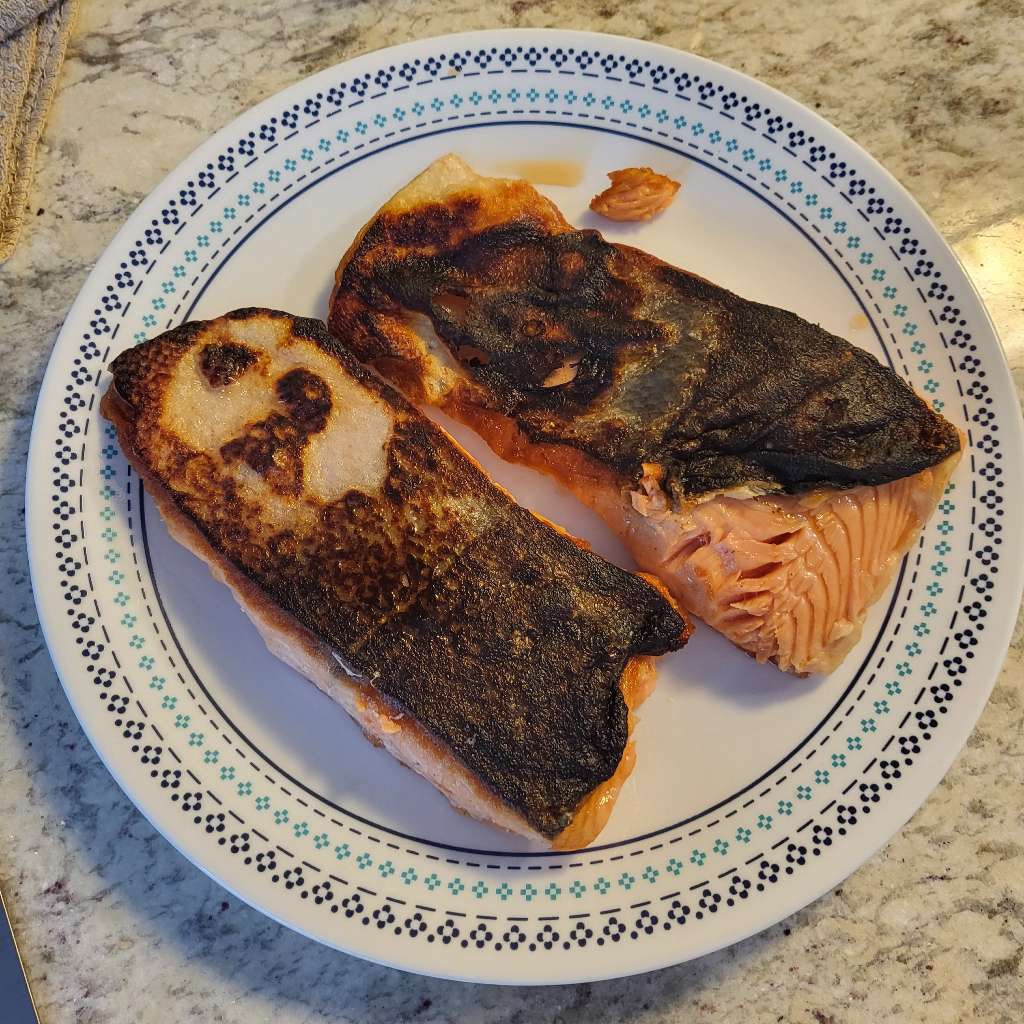
Well, I must have forgotten, because I totally burned these. I think I was still getting used to my new stove being hotter than I expect. I also didn't make it easy on myself because I used my stainless steel pan instead of my non-stick. I was so worried about it sticking to the pan (but it didn't!) and I think the recipe calls for way more oil than you need because I ended up with a splatter-y mess and I was kind of freaking out.
Okay, maybe the mess was actually because I didn't let the salmon fillets fully thaw before cooking them 😬 Man, what am I even doing?!
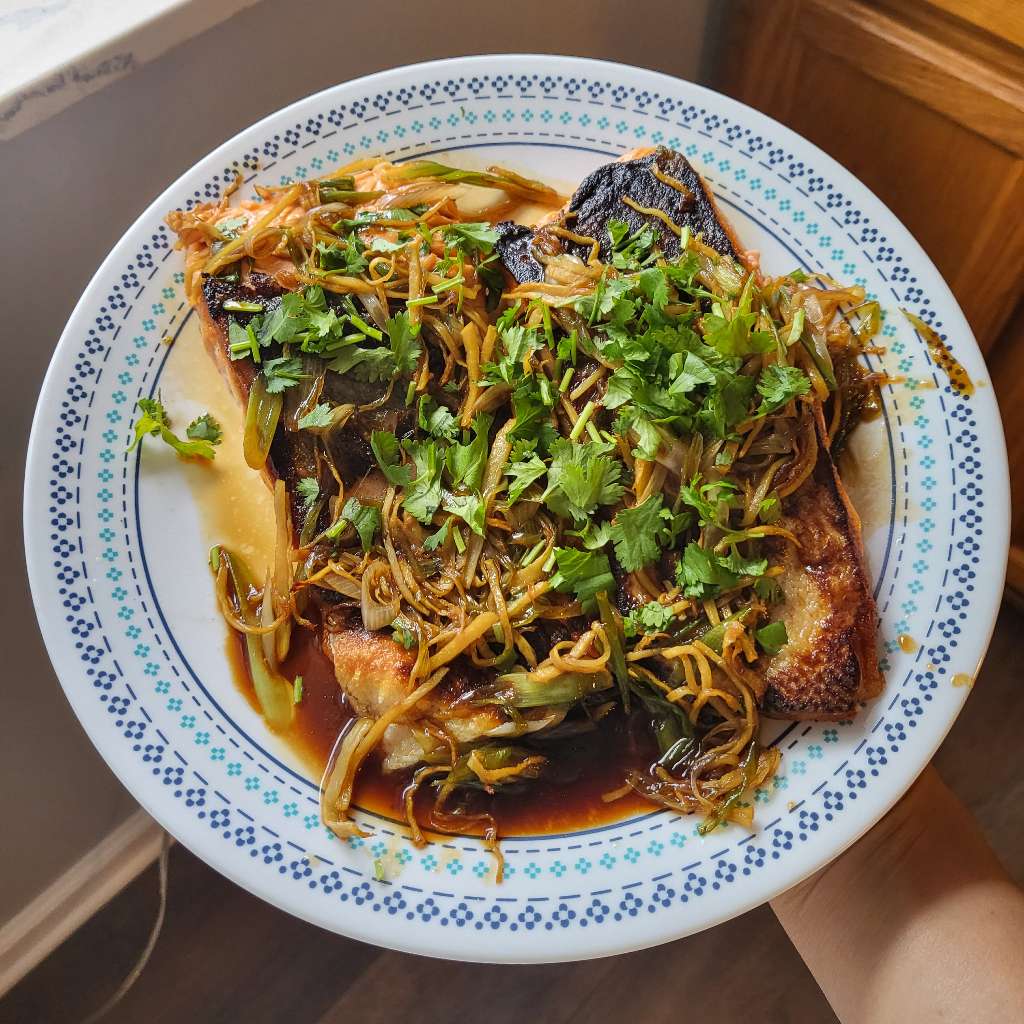
Hey, but when you throw all the toppings on top, you don't even notice how burnt it is! And even though the skin is overcooked, I actually way undercooked this salmon. It's basically raw in the middle. But this is the same salmon that I use for poke so I don't really care. In fact, it's preferable this way. (Side note, I dislike seared tuna. Why even bother searing it at all)
I thought the recipe was way saltier than it needed to be, but the fish itself was ho jiah好食 - delicious.
I wanted to try making this again, with adjustments. I figured it would be easier if I just cooked one piece of salmon and cut the recipe in half. But when I got to Giant Eagle, the sashimi grade salmon was on sale for EVEN CHEAPER! It was now $3.99 a piece! pin si便死 - extremely cheap! I had to buy two!
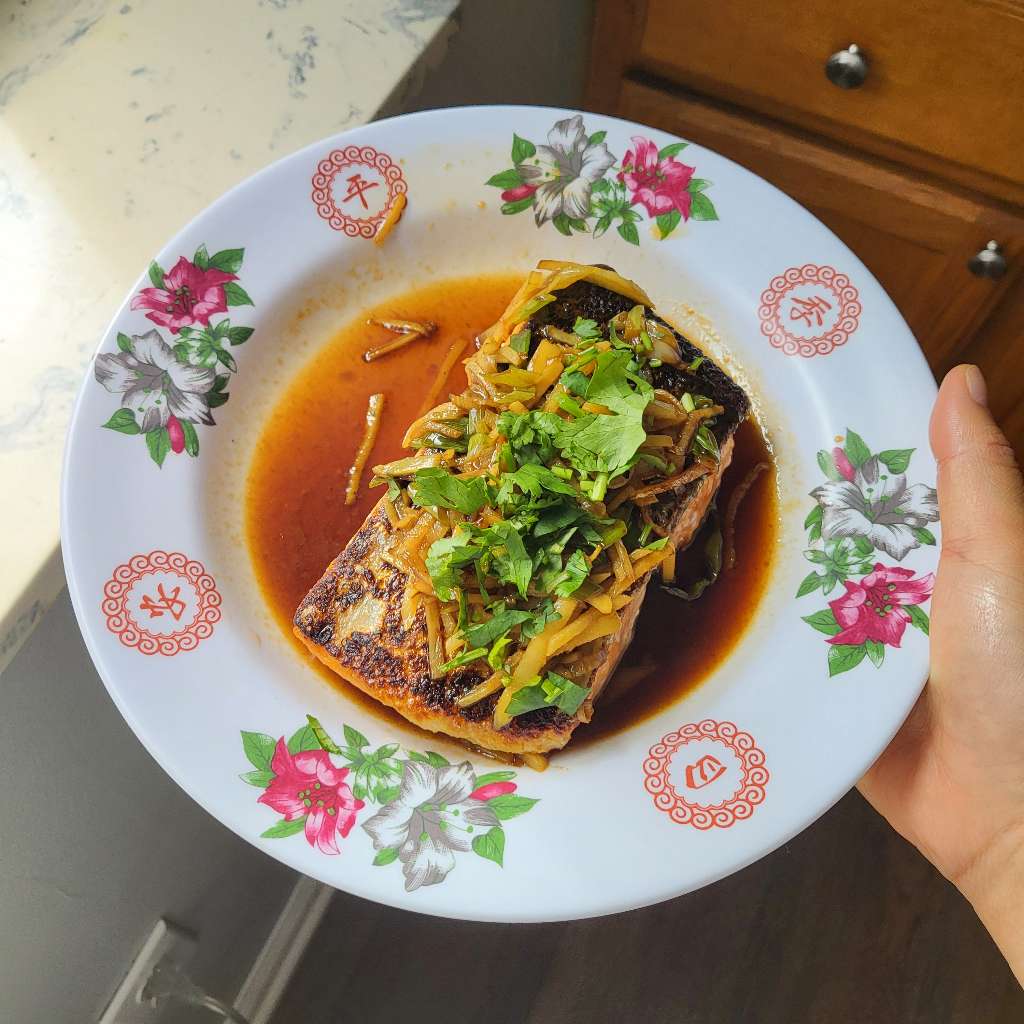
I still only cooked one of them though. I had to make this a little easier on myself. But I still used my stainless steel pan, and I really should have just gone with the non-stick. So I completely omitted the salt, and I also cut the amount of oil in half, and I think those were good changes! But I still ended up burning the salmon!
I did some researching on Reddit afterwards, and it sounds like it might have been better if I cooked the salmon on medium-low instead of medium-high or medium. I'll have to try that next time, but e jua下匝 - next time might be a while from now because I got a little sick of seared (burnt) salmon. I did still have that extra salmon fillet though, so I made some poke! I could never get sick of poke.
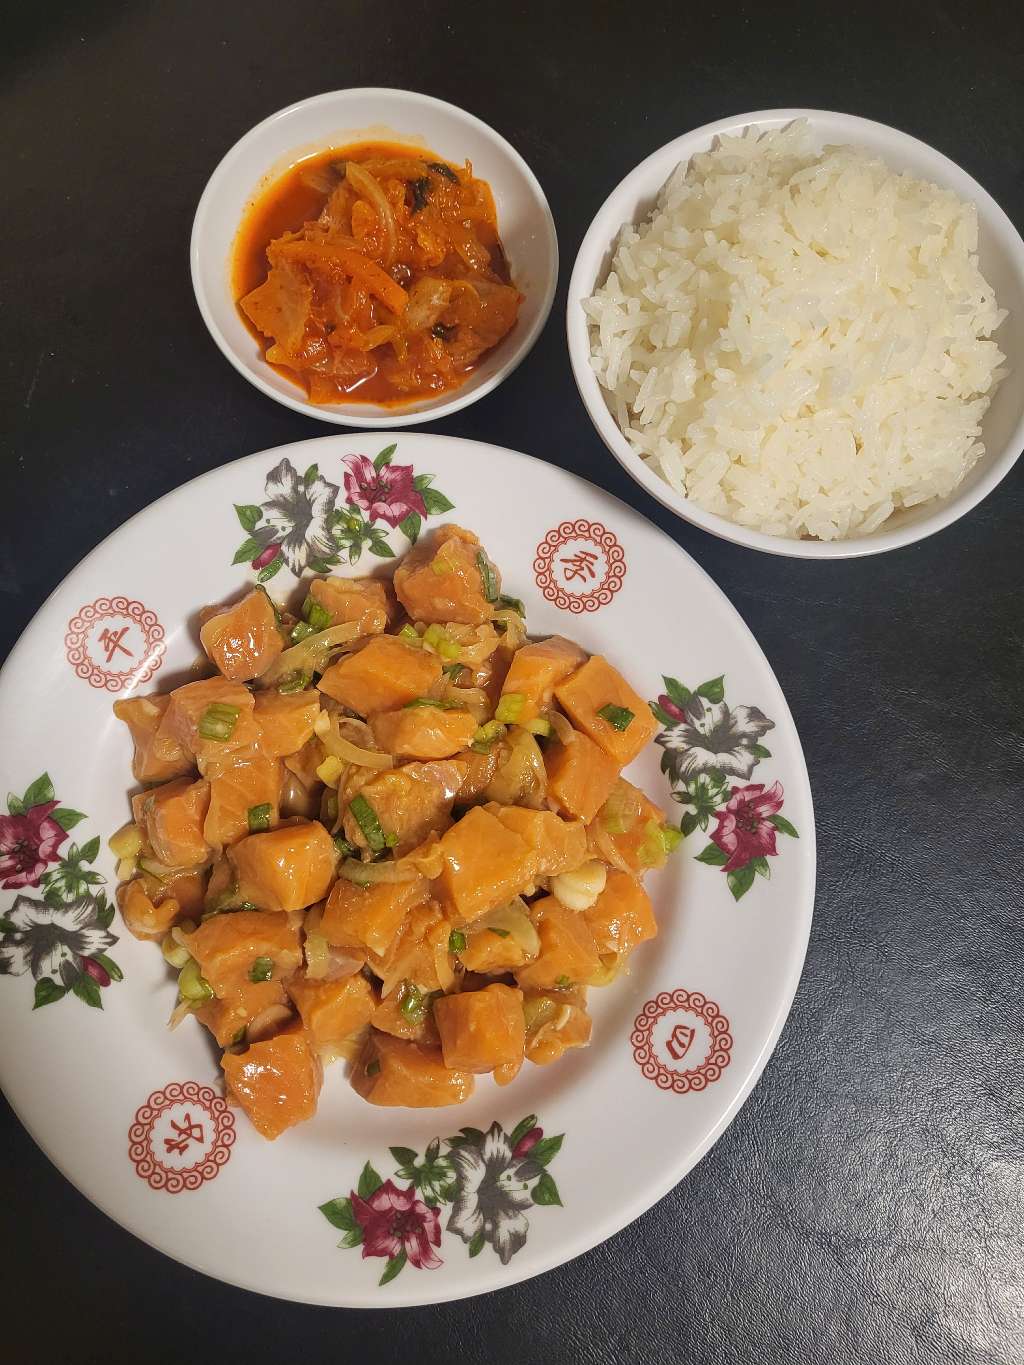
And I didn't want to be wasteful, so I took the unused piece of salmon skin and I even fried that up! Using my non-stick pan!
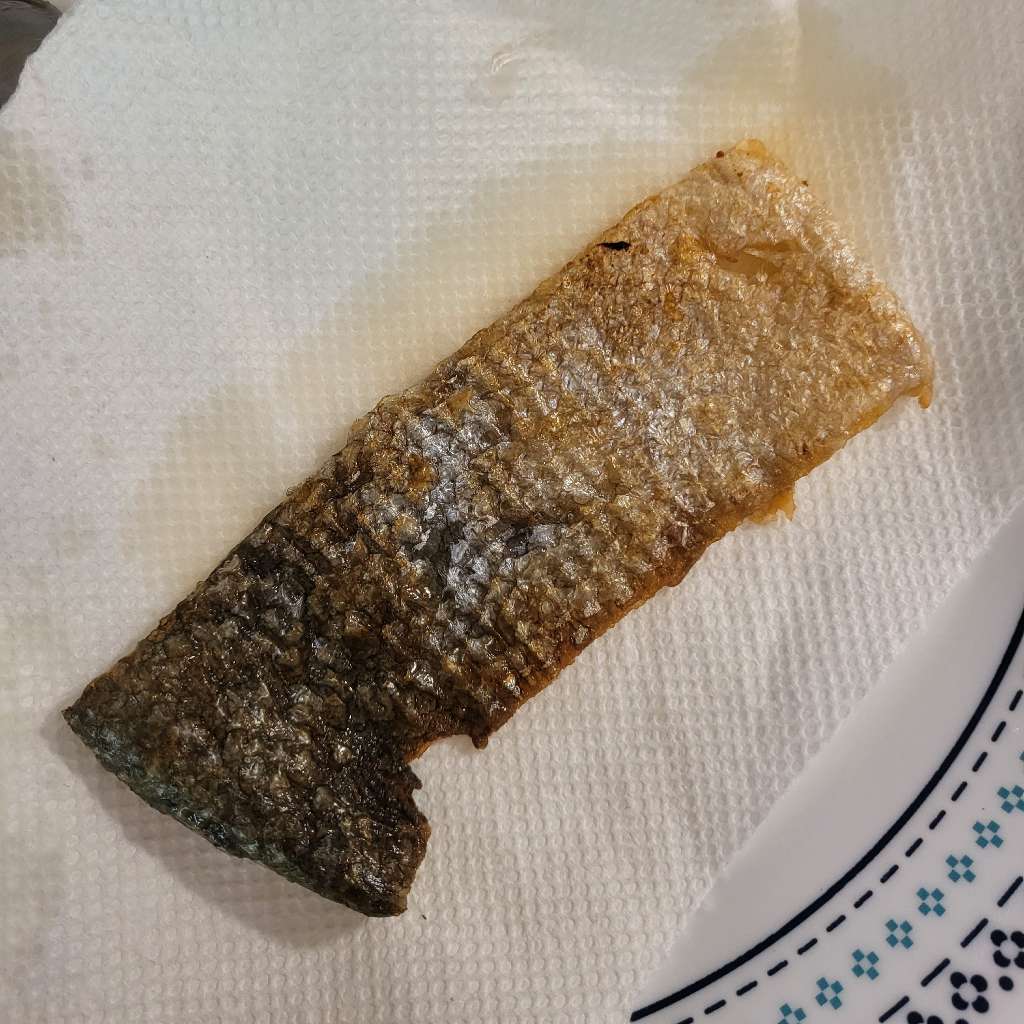
It was hoh sou好酥 - quite crispy and a very nicely cooked piece of salmon skin.
Guys, the day has finally come.
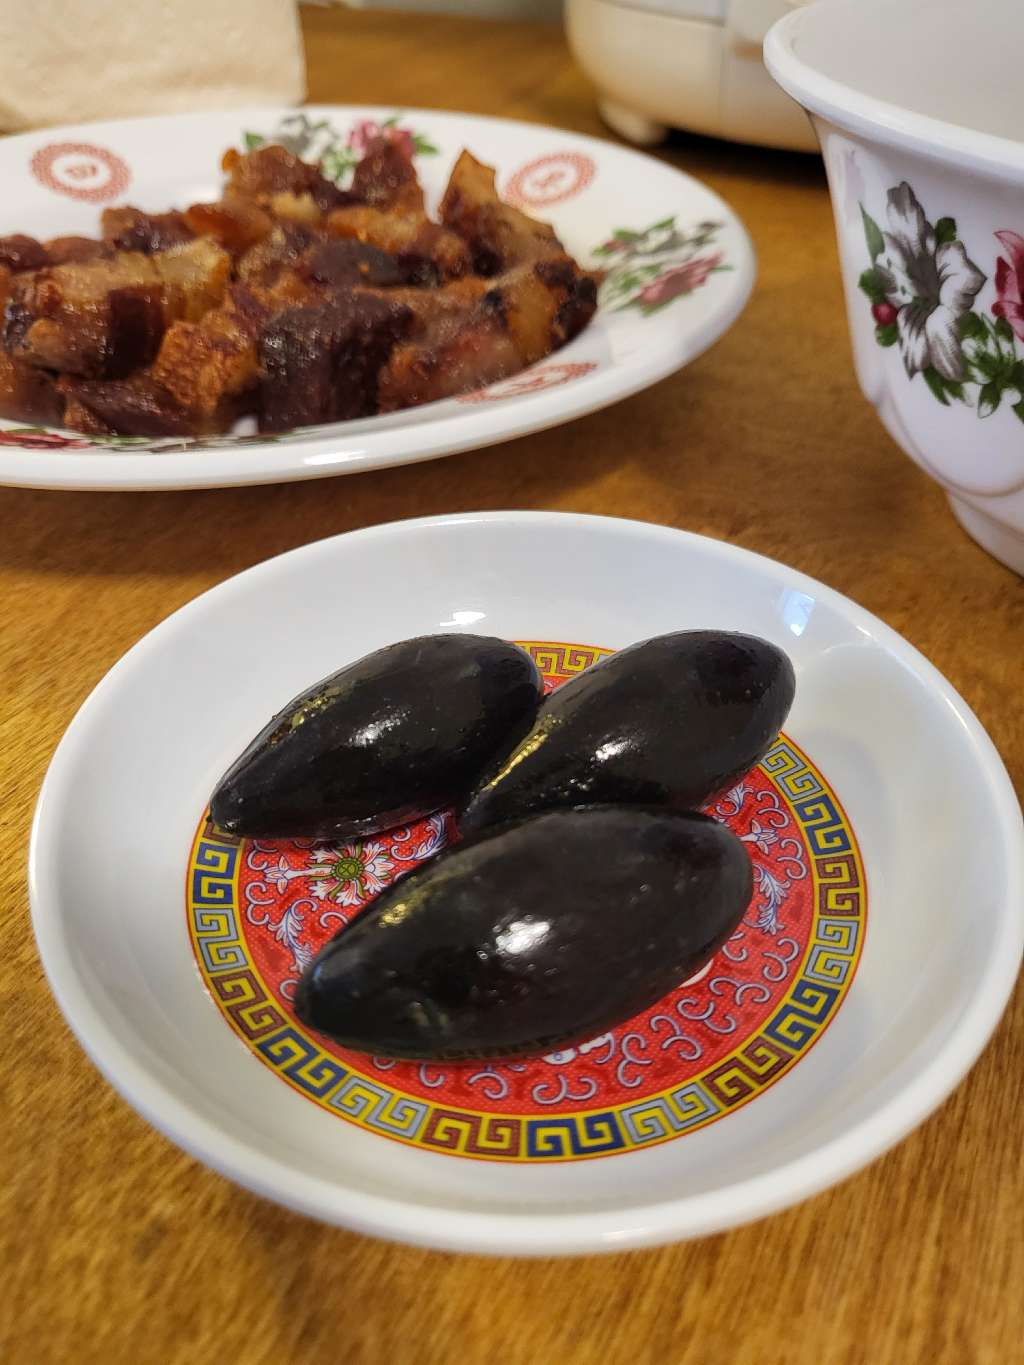
After 6 years (!!) of searching, I am finally able to eat mue pue ou nam糜配烏欖 - congee with black olives!
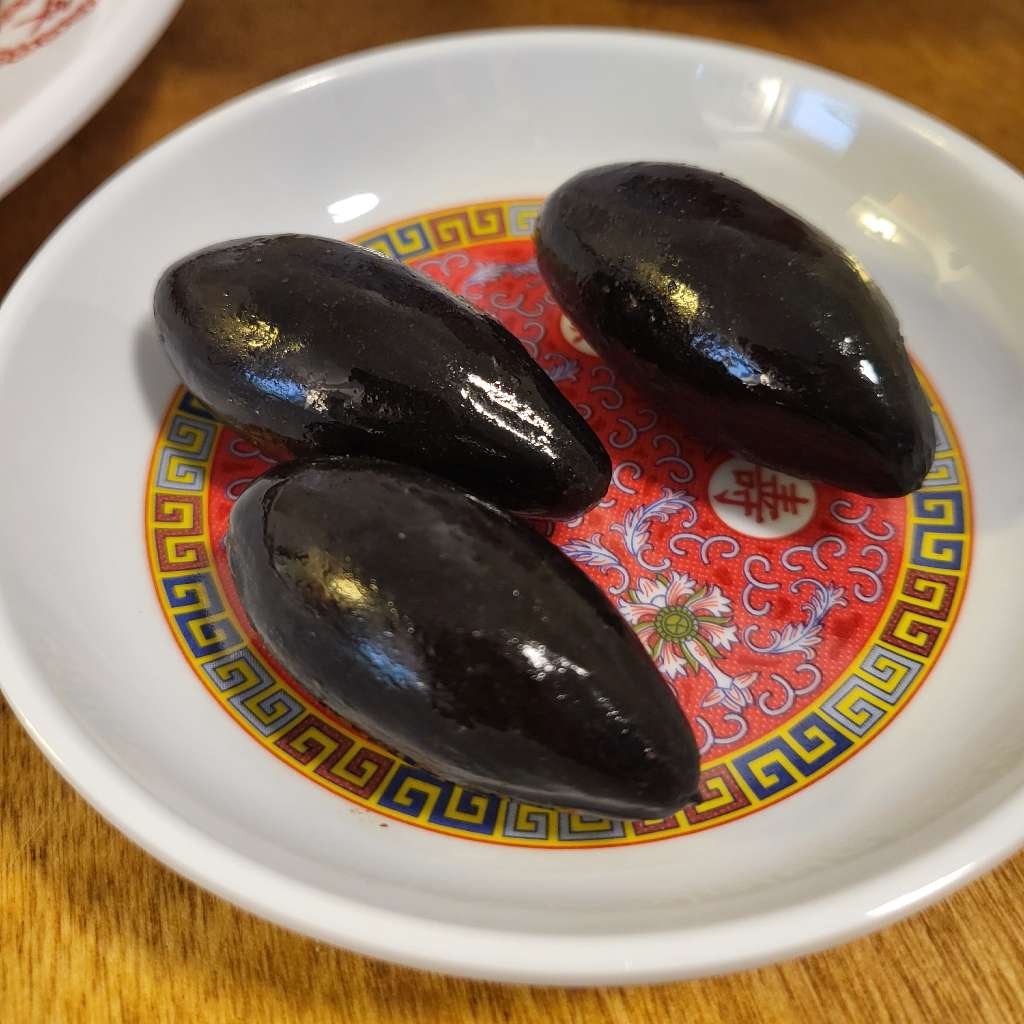
So I need to talk about these ou nam烏欖 - black olives. They're black and football shaped. They're very salty, but they don't taste anything like your black olive that you find on a pizza or a charcuterie board. And you have to get them whole, with the pit still inside.
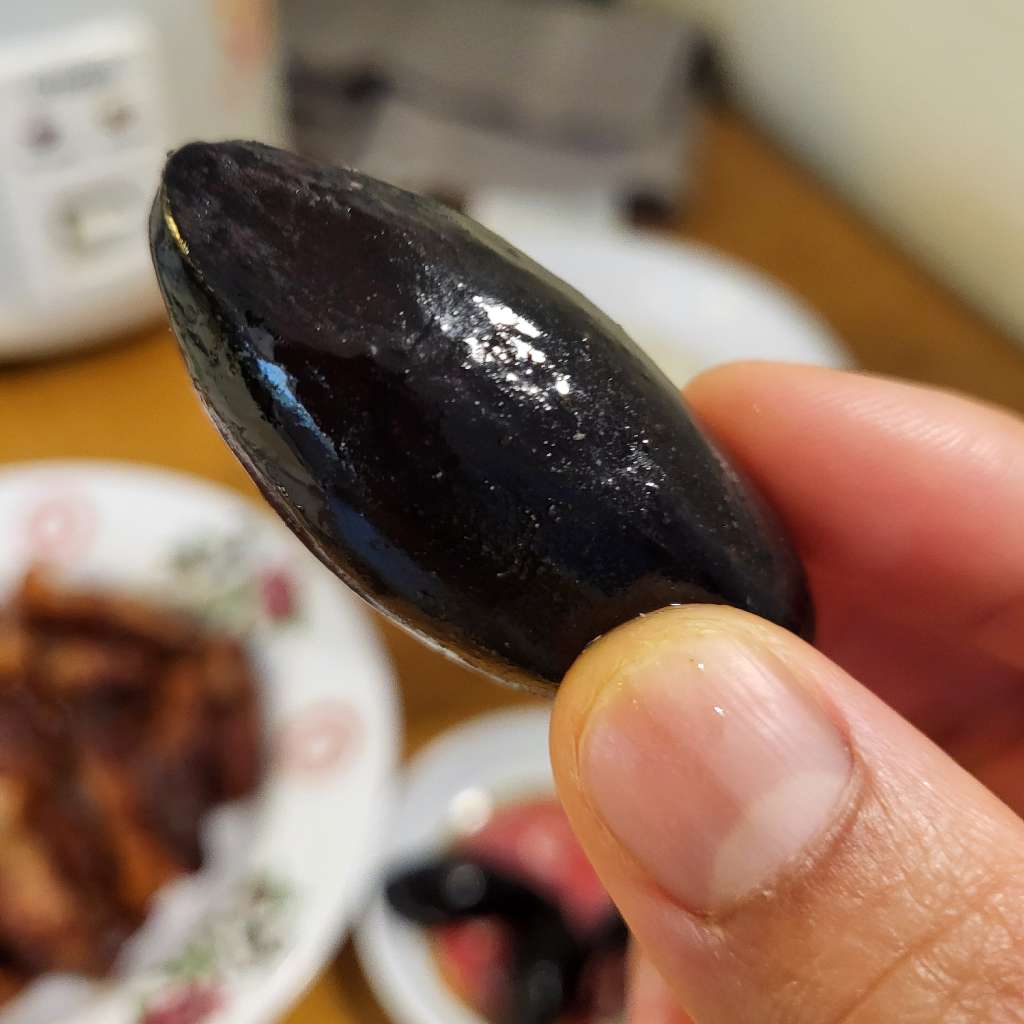
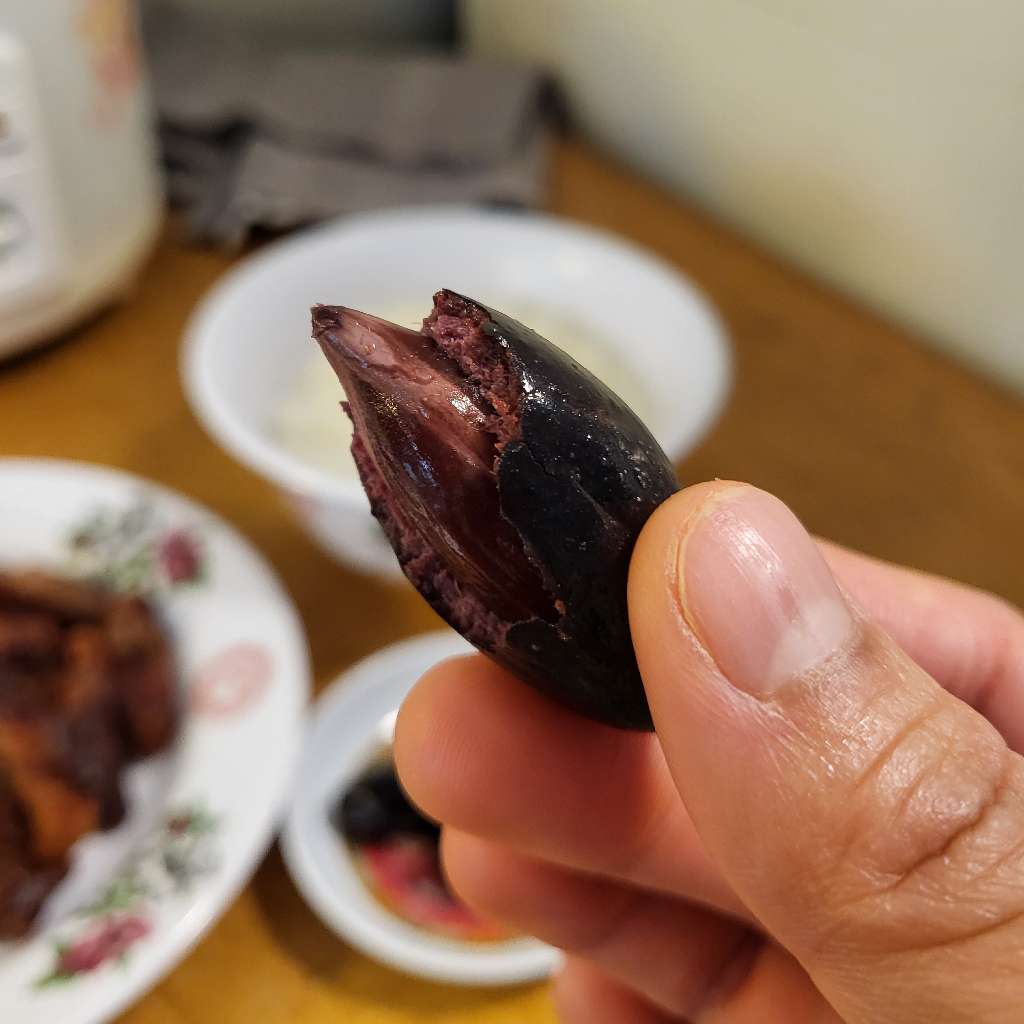
Back when I was little, you could easily find cans of ou nam at the Asian grocery store. But at some point, I guess they stopped shipping them to the US? When I asked my Soy Go細姑 - aunt (dad's youngest sister) about trying to find them back in 2022, she told me something like "Child! Don't waste your time! They don't sell them anymore!" BUT I KEPT LOOKING. Every time I went into an Asian grocery store, I'd look for them. Whenever strangers online posted about them, I'd respond and ask them where they got them. I basically never talked to strangers online, but I always made an exception for ou nam.
I heard a lot of crazy theories from people about why ou nam are so hard to find in the US. They're too salty and too unhealthy. They cause cancer. I don't know. The thing is, I knew they still existed somewhere. They were even featured on a Netflix documentary about Teochew food! See that? Olives were the very first episode.
But after six years of searching and not finding anything, I really thought I was going to have to travel to China just to get some ou nam. And then just a month ago, I visited my dad's family and I talked to my Soy Sim細嬸 - aunt (dad's youngest brother's wife), and she told me she's seen them at the market somewhere in California. "Why didn't you ask me?" 😅
She started searching on Weee! and she pulled up a page and showed it to me, and yeah, there it was, and they were able to deliver them to my apartment. I had never heard of Weee! before, but apparently they've existed since 2015.
So we placed an order, and it actually took over three weeks to get them delivered to me. I had honestly completely forgotten about it when a mysterious little box showed up in front of my door. I'm used to getting ou nam in a can, so I was surprised to see them in vacuum-sealed bags! Soy Go seems to think this is better though. I mean, it certainly seems a lot easier and safer to transfer these little bags than it would be to transfer cans or jars.
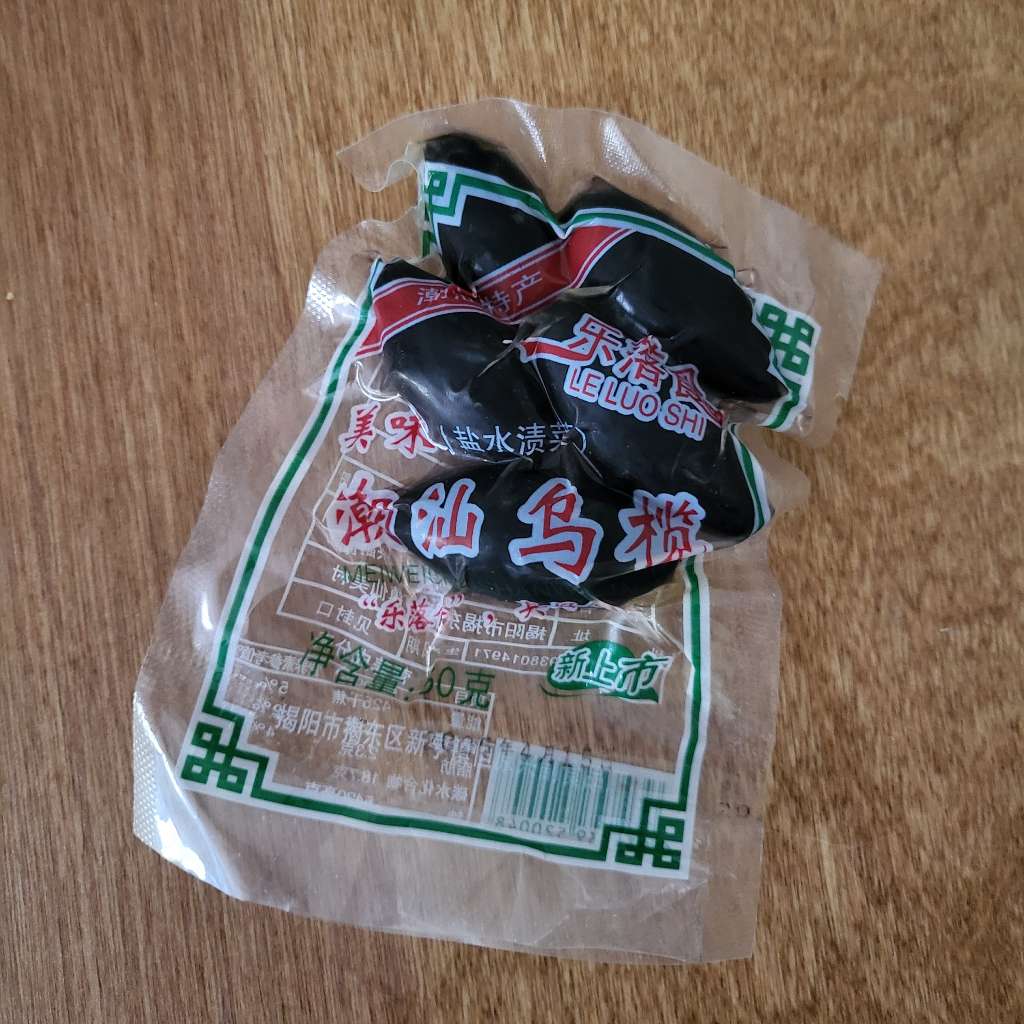
Because they're so salty, they're usually eaten with mue糜 - porridge/congee. Plain mue. I know I've mentioned a few times already that I LOVED eating mue as a child, and even today, I think I could eat mue every day and not be sick of it.
It had been a while since I last made beh mue白糜 - plain ('white') congee, but the process is pretty simple. You just wash a cup of rice and add maybe 4-5 cups of water and boil that. Once it's boiling, lower the heat so it's at a simmer, and keep it cooking until it's at the consistency you like. I actually prefer my mue to be a little thicker and less jui jui水水 - watery.
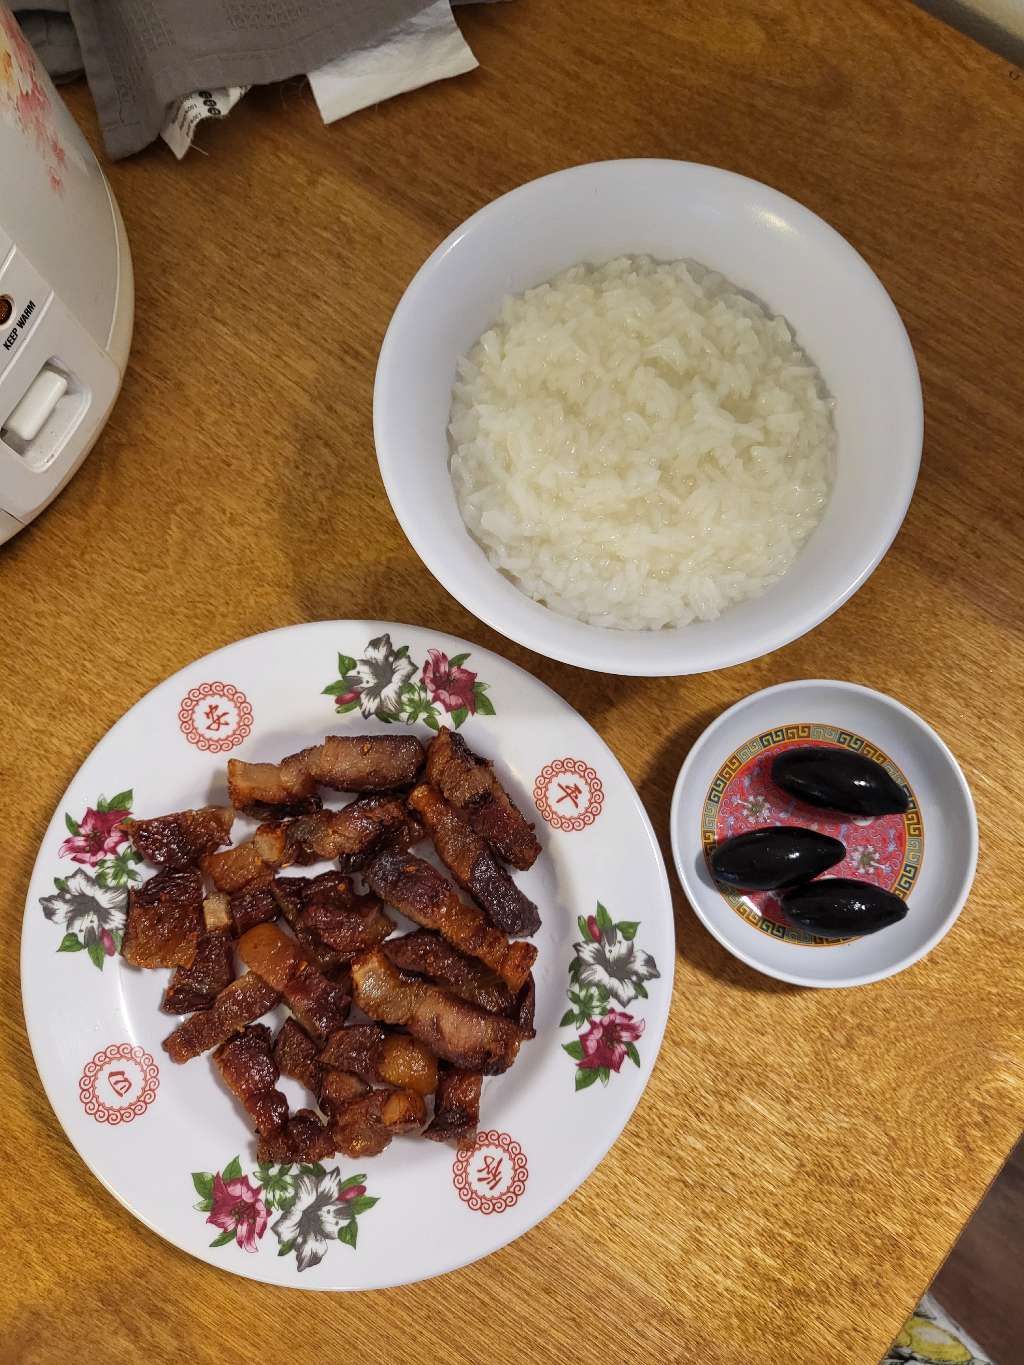
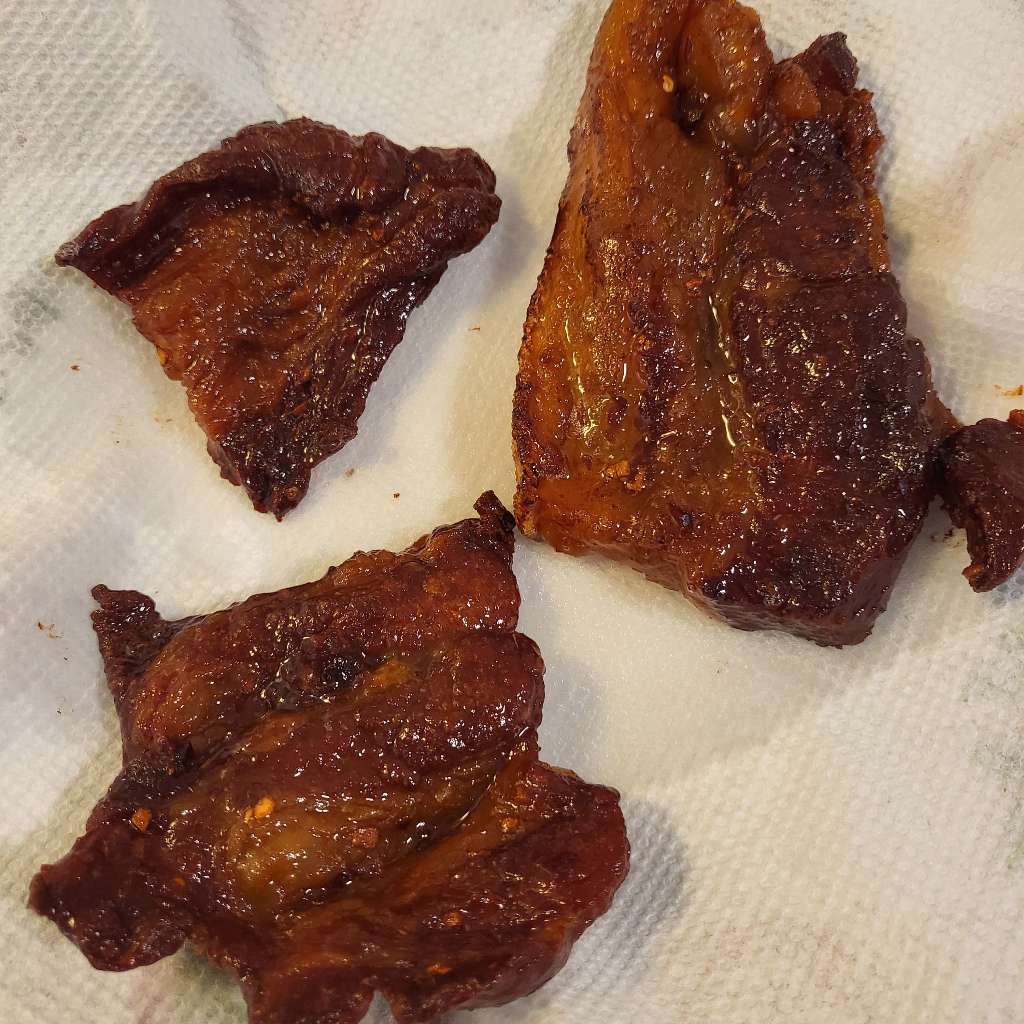
And you guys know I love lah bhah臘肉 - cured meat as well, right? When I last visited my mom's family, Gong公 - grandpa would cook mue and lah bhah and have that for lunch every day! (And you know I am more than happy to eat this for lunch every day) Lah bhah is typically made with pork belly, but he also prepares other meats in a similar way. Before I left, he made sure to give me some lah bhah to take home ❤️
I've been having many meals of mue and ou nam and lah bhah for the past couple of weeks! I really don't ever get tired of it.
I feel like I want to try to have more of my favorite dishes from childhood. Because...can you believe ou nam is actually not my favorite thing to eat with mue? (Well, you'd know this already if you read my blog posts pretty closely) But that's a post for another day.
Before I had even moved into my new apartment, one of my friends gifted me an ice cream maker as a housewarming present. I'll admit that when I saw it, my first reaction was momentary panic because I had not planned for an ice cream maker to sit in my new (not-so-spacious) kitchen. But after my dad built me some shelves, I was able to find a spot for it to live.
It's a very thoughtful gift! Ga lemice cream is my favorite dessert, and I eat it three times a day.
...okay, that's a slight exaggeration, but I do eat ice cream pretty much every day. I don't think I eat that much of it, but it's nice to have as my breakfast, lunch, and dinner dessert.

I figured I should start with the most basic ice cream recipe, the "Simple Vanilla Ice Cream" that was listed in the manual. It was pretty easy to make and only had four ingredients: milk, heavy cream, sugar, and vanilla. I let it churn for about 25 minutes, and it thickened a bit and it was kinda cool!
So this Cuisinart ice cream maker claims to be able to make ice cream ✨ in under 30 minutes ✨ Except that's a LIE. First, you need to make sure the ice cream bowl has been sitting in the freezer for 24 hours. And even if you discount that time, you still need to freeze it for several hours after it's done churning in order for it to have a good ice cream consistency.
But that's okay. I'm living life slowly these days so I can wait a whole day for some ice cream. So after it was done churning, I tried a little spoonful and I put it in the freezer until the next morning. It tasted like vanilla ice cream! I didn't love the texture, but I thought it was a success.
You know what makes it even better, though? Oreos. I LOVE oreos in my ice cream. I bought a small pack of them and I crushed one up and mixed it in (just like Cold Stone!). I should crush up an oreo every time I scoop myself a bowl of ice cream.

So I decided that I would try making cookies 'n cream next. And it's basically the same as making vanilla, I just add crushed oreos to the churner for the last five minutes of it. I only used four oreos (because I had an individually wrapped snack pack), and I think it could have used one more. Recipes online will typically tell you to use a knife to chop the oreo into chunks, but I prefer to just put it in a plastic bag and smash it with something heavy enough.
I lied in this video! I actually only let it churn for twenty minutes! I don't think it really made a difference in the texture of the ice cream though. I enjoyed it, but I'll definitely want to switch up the recipe next time. I really want to try and create a creamier texture, and I think I want to try incorporating some egg yolk next!

I had been living in the same apartment since before the start of this food blog, and that was far far far too long for me, but finding a new apartment is a lot of work and I was kind of picky.
But I finally did it! I found a new place and I moved! My new place is a little bigger, though it came with much less storage and countertop space in the kitchen. My dad and my cousin helped me move in, and as part of that, my dad also built me some shelves to make my kitchen more usable.
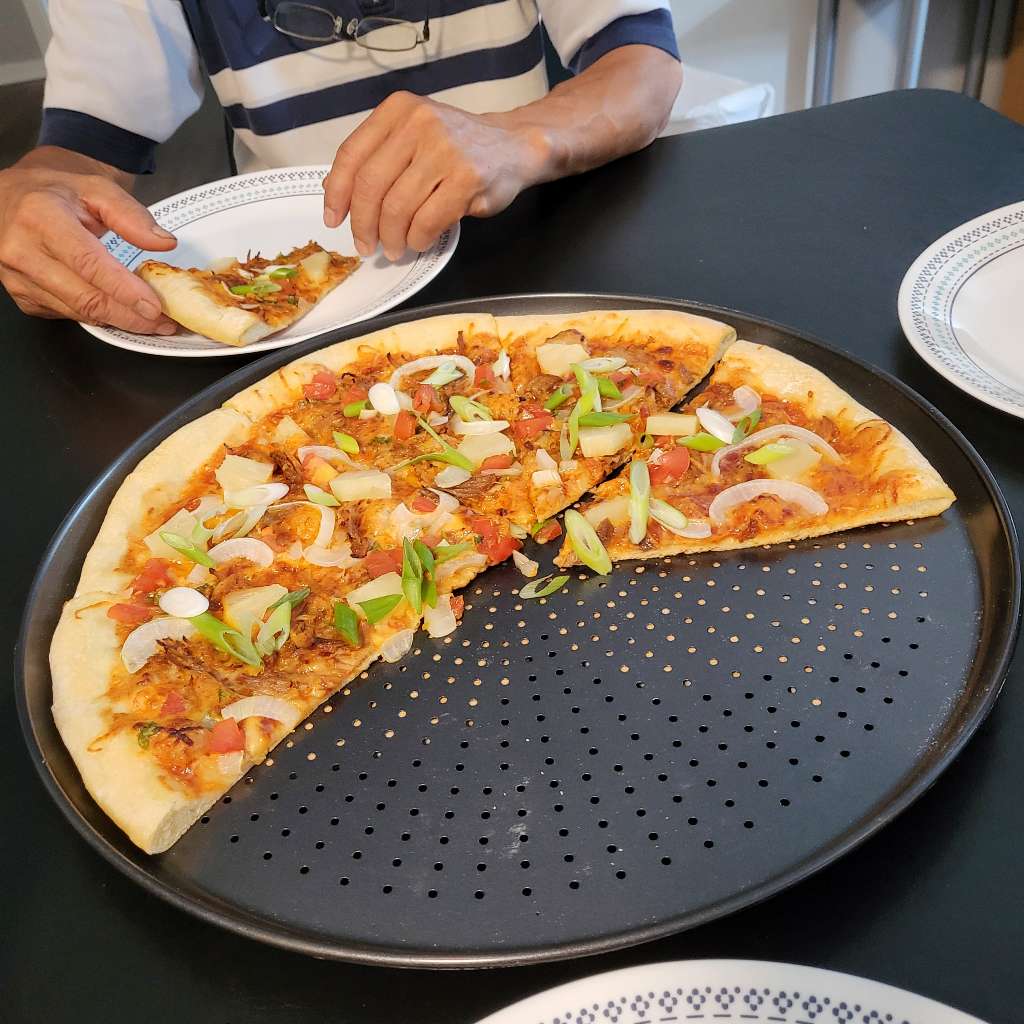
For most of the week and a half that my dad and cousin were visiting, we were eating food that my aunt packed for us. She packed so much food, but they were also here for a bit longer than we expected, so I ended up needing to make a few meals for them myself. On the very last day, I made some BBQ pulled pork pizza using some leftover odds n ends from a taco night earlier that week. As I was adding the toppings to my pizza dough, my cousin exclaimed "Is that...barbecue sauce? 😯"
I don't know why he was so shocked, because of course it's barbecue sauce! BBQ is the best pizza sauce.
I was honestly pretty impressed with myself for pulling that together so quickly, and I think my dad and cousin were impressed too.
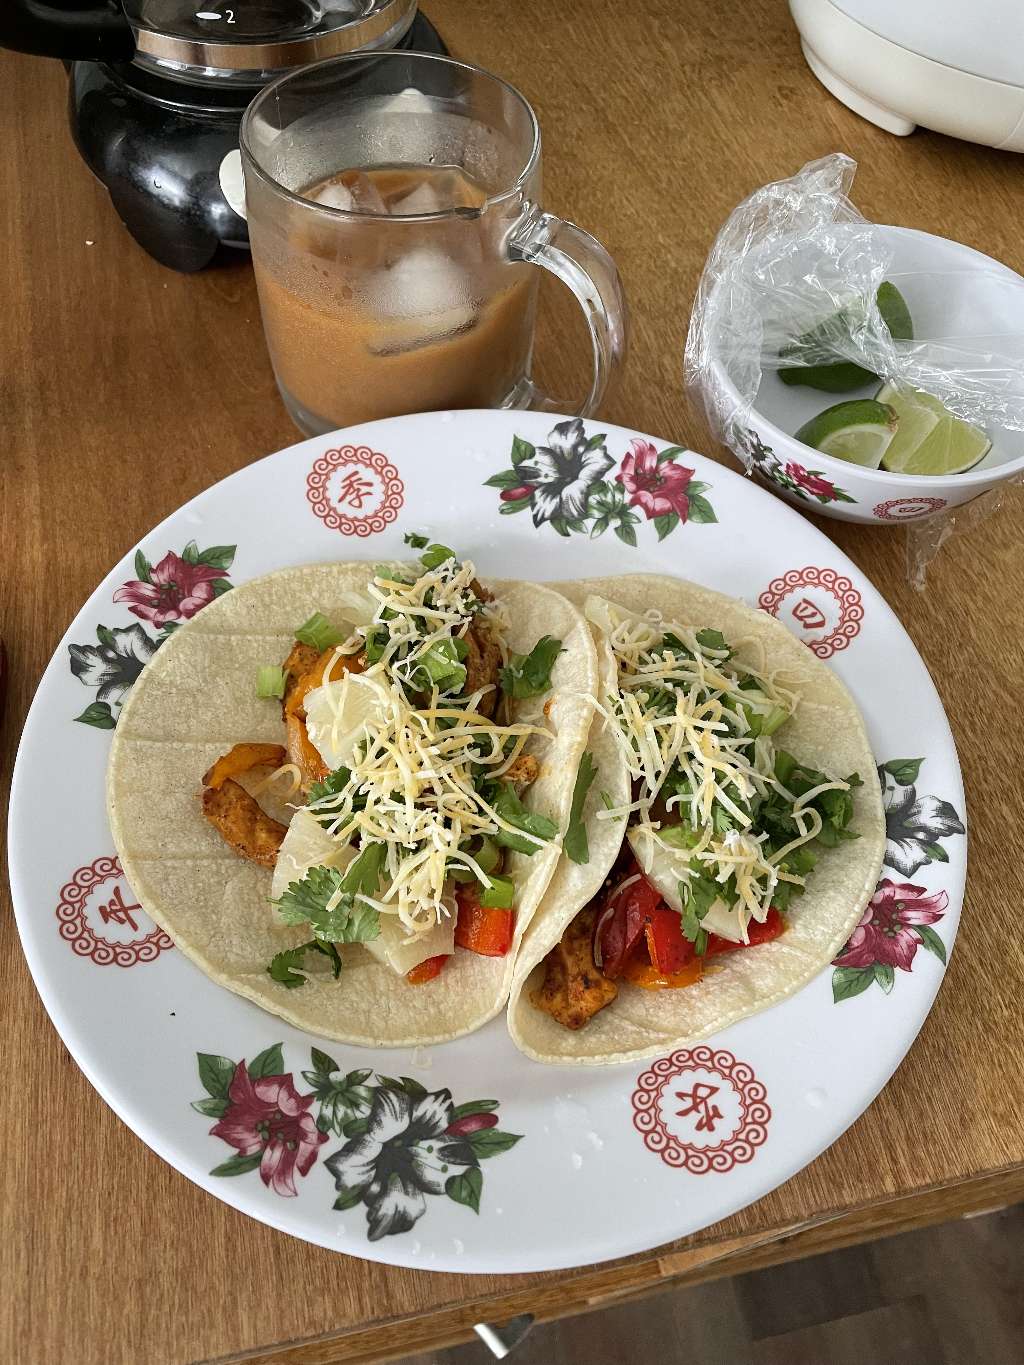
Unfortunately I didn't get any photos of the taco spread, but because I only used half a packet of fajita seasoning, I used the rest in some chicken fajitas later that week. I'm a little further from the Giant Eagle now, but there is a tiny grocery store not too far away, and it's good for buying individual pieces of produce. I bought two bell peppers and a lime for these fajitas.
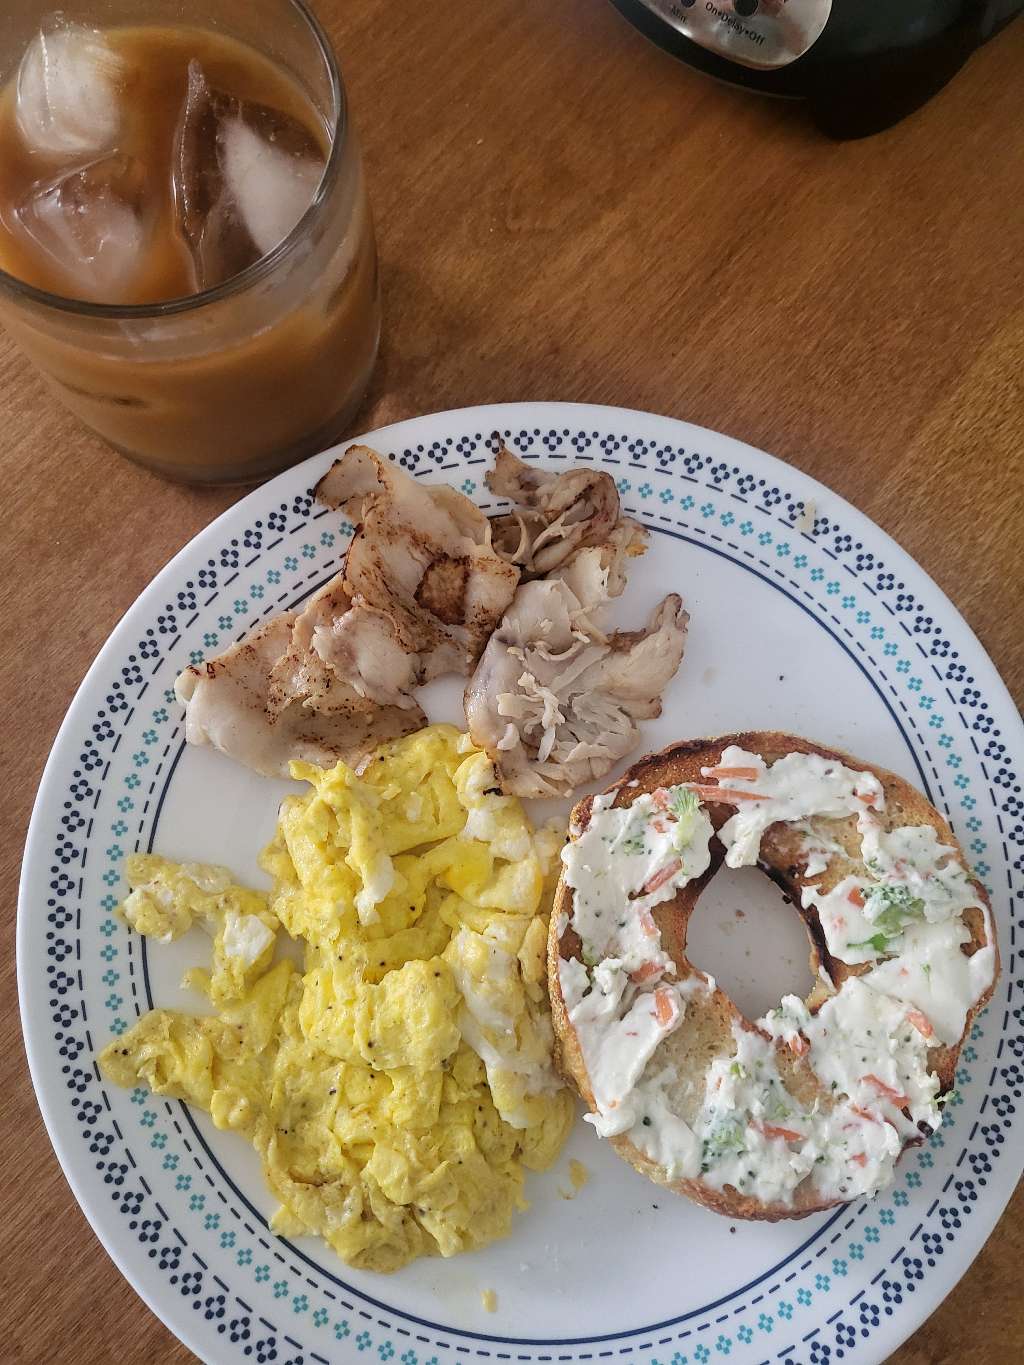
I also checked out a local bagel shop that apparently sometimes has super long lines. The first time I tried to go there, they were already sold out for the day! But I tried again, and I got there earlier this time. I think I just got a plain bagel with some veggie cream cheese. This place is all about customizing your cream cheese. You choose your mix-ins, things like scallions or broccoli or bacon or cheese, and then the bagel person puts your cream cheese and extra stuff in a bowl and mixes it all up. It's like Cold Stone, but for cream cheese.
Anyway, I was so overwhelmed by all the options that I just chose a pre-designed cream cheese mix. The bagel and cream cheese were...fine. Didn't seem worth the $6 price tag 😨
I am not a very heavy-cream-cheese-on-bagel kind of person, which means these bagel places always give me twice as much cream cheese as I want for one bagel. But I know this, so I ended up getting my cream cheese on the side, and I used the other half of it to make pasta.
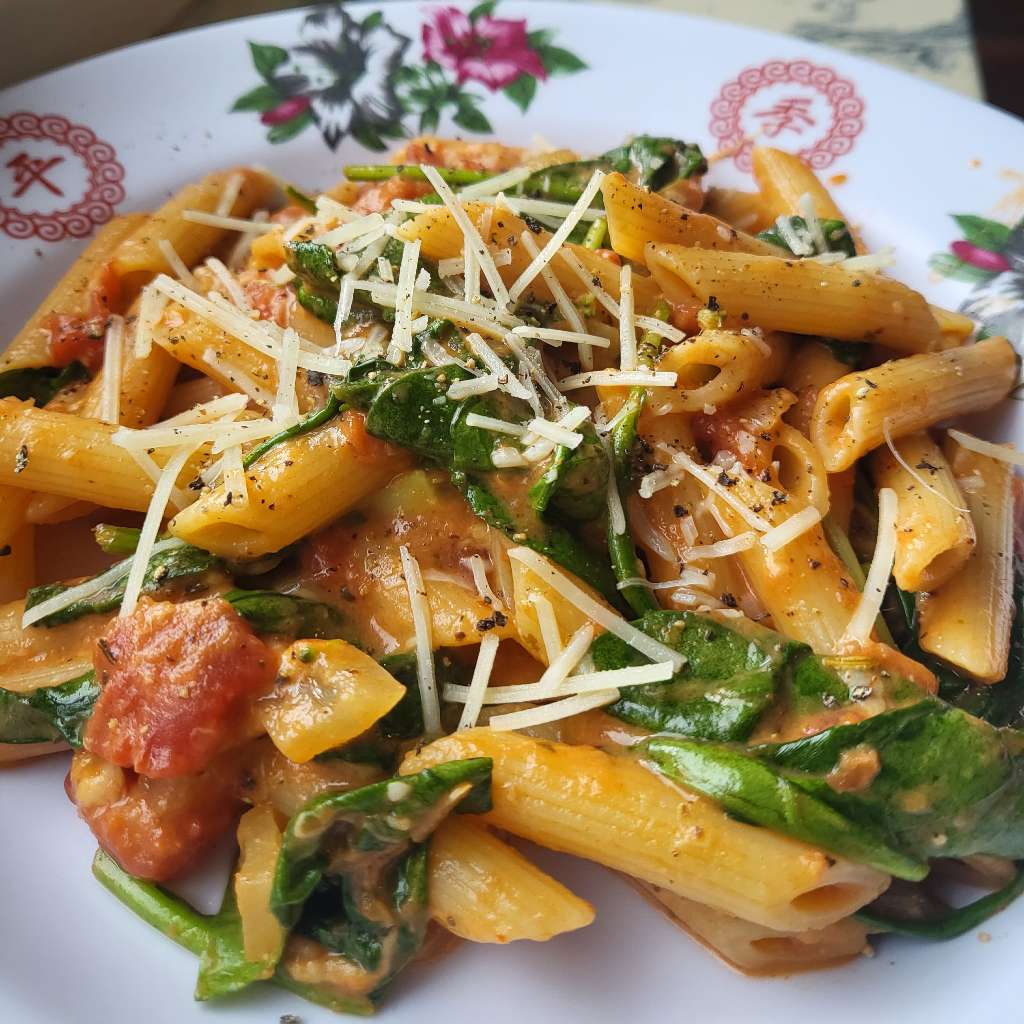
I was definitely a little worn out from my move-in week, so I wanted to just make some easy meals after that. And pasta's pretty easy. In fact, I made pasta twice that week!
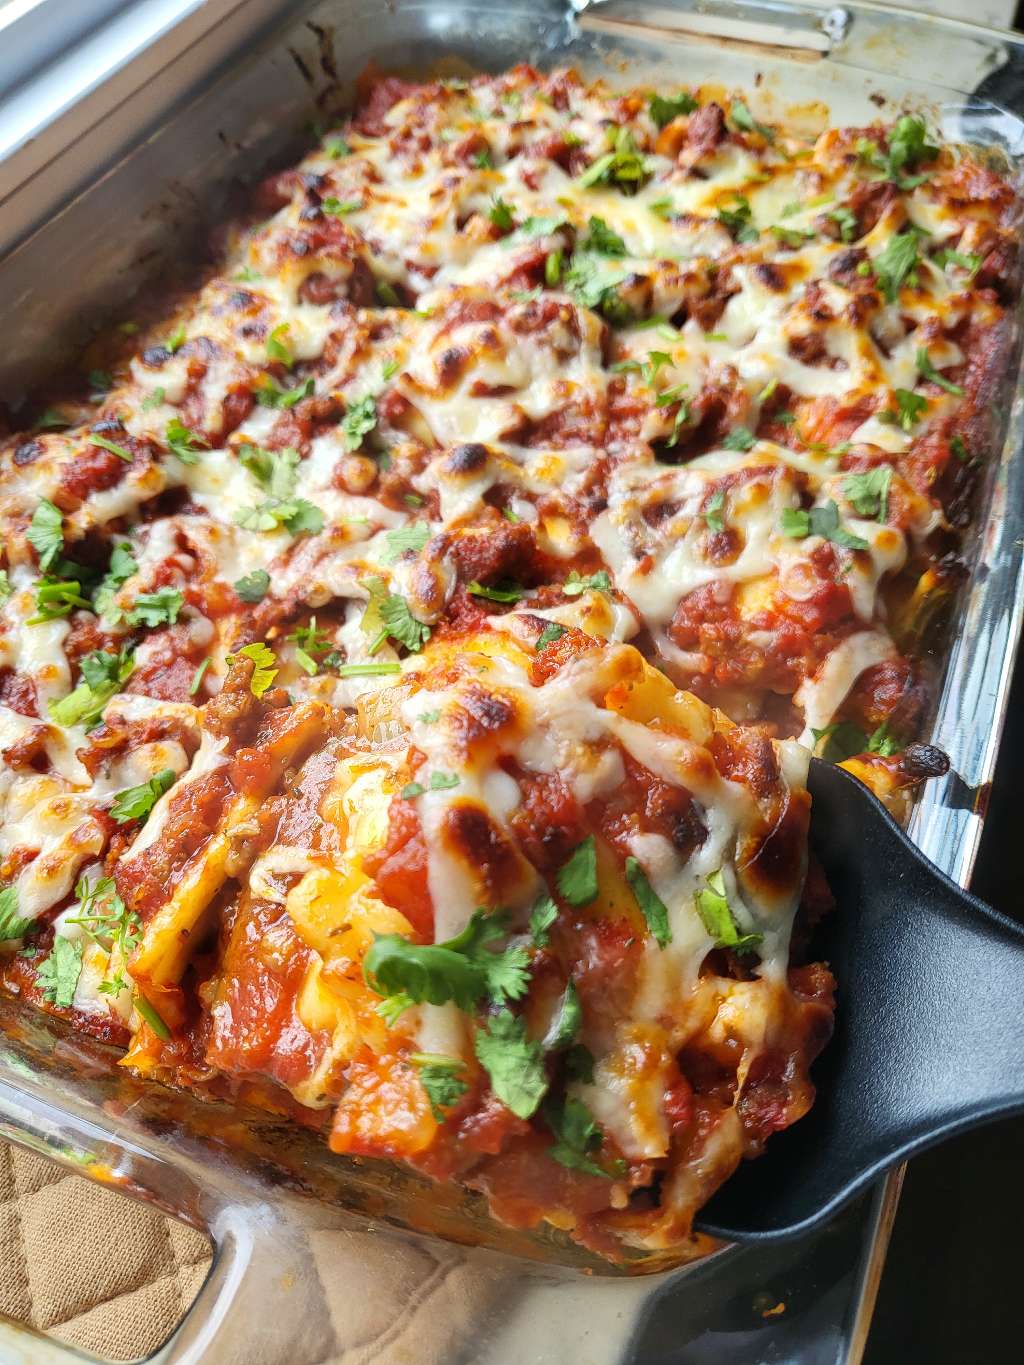
I usually like to make baked ziti, but this baked ravioli is like an easier version of that. And even though I usually hate leftover pasta, there's something about these baked, really cheesy pastas that can withstand the sitting and reheating process, so I happily ate leftovers of this.
Of course, because I've got a new kitchen, that means I have to get used to all of my new-to-me appliances and that's going to make things a little harder at first. The oven was pretty simple--so far that works just as expected. But I'm finding that my stove gets way hotter than I expect it to. I have electric coils now, and I don't know anything about the science of how that heats up the food differently from the flat top stove, but I cannot be cooking everything at a 7 now.
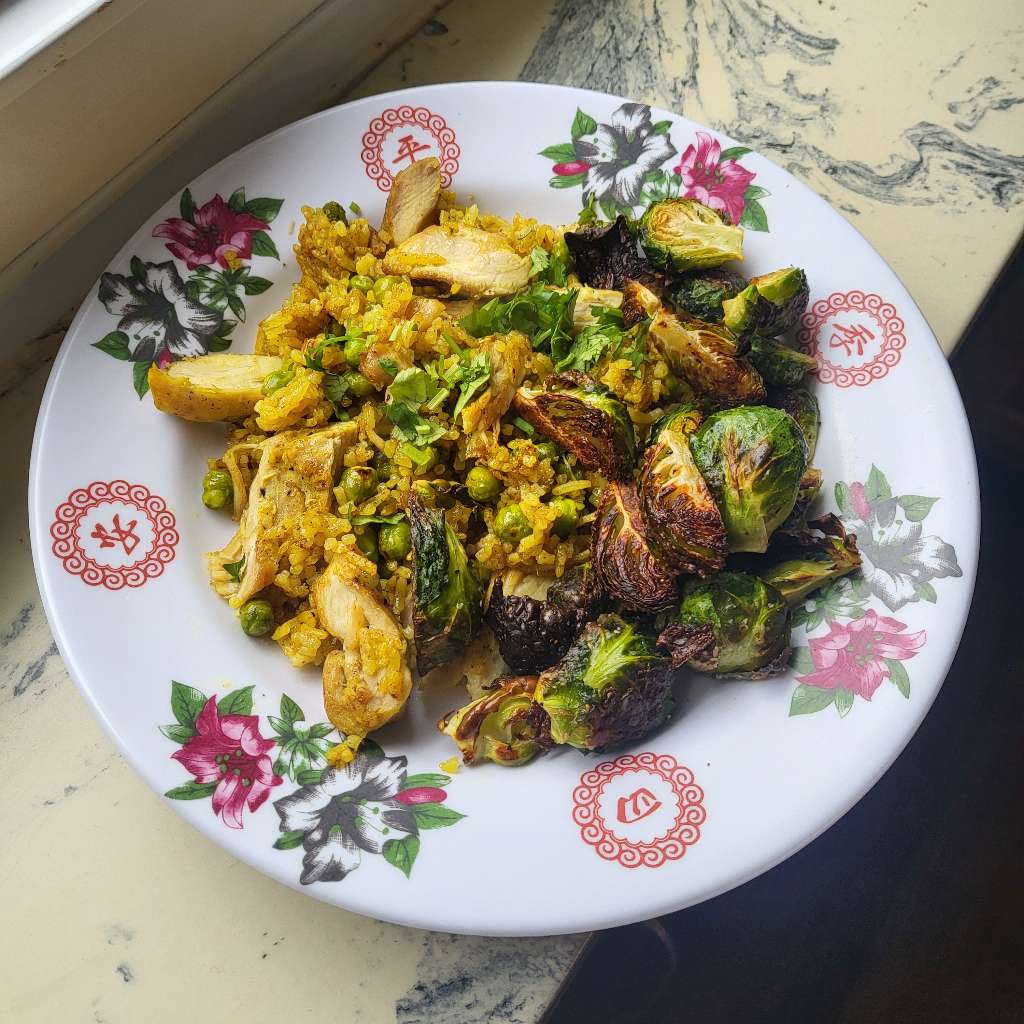
I've made this yellow rice dish so many times in the past, so I was expecting it to be chill, but I think I set the stove heat too high and I made a bit of a splattery mess. I quickly cleaned my stovetop up, but it must have been a little bit later (and darker) in the day because the next day I looked above my (white) stovetop and it was yellow, and I tried to wipe it off, and it would not come off 😱
I looked up how to remove turmeric stains on the internet and I found so many different suggestions on reddit: dish soap, bleach, vinegar, baking soda, oil, magic eraser, sunlight, but the top rated comment said "Enjoy your yellow stove!"
I tried using a magic eraser and I just scrubbed as hard as I could. Some of the yellow did come off, and now the surface is just a very pale yellow and I'll probably forget about it in the future. I wonder how much yellow stain had coated my old stove that I just didn't notice because it was black.
This was a pretty minor incident though. Besides that, I've already had a few instances where I cooked something and it started smoking A LOT, and then I've triggered the smoke alarm 🥵
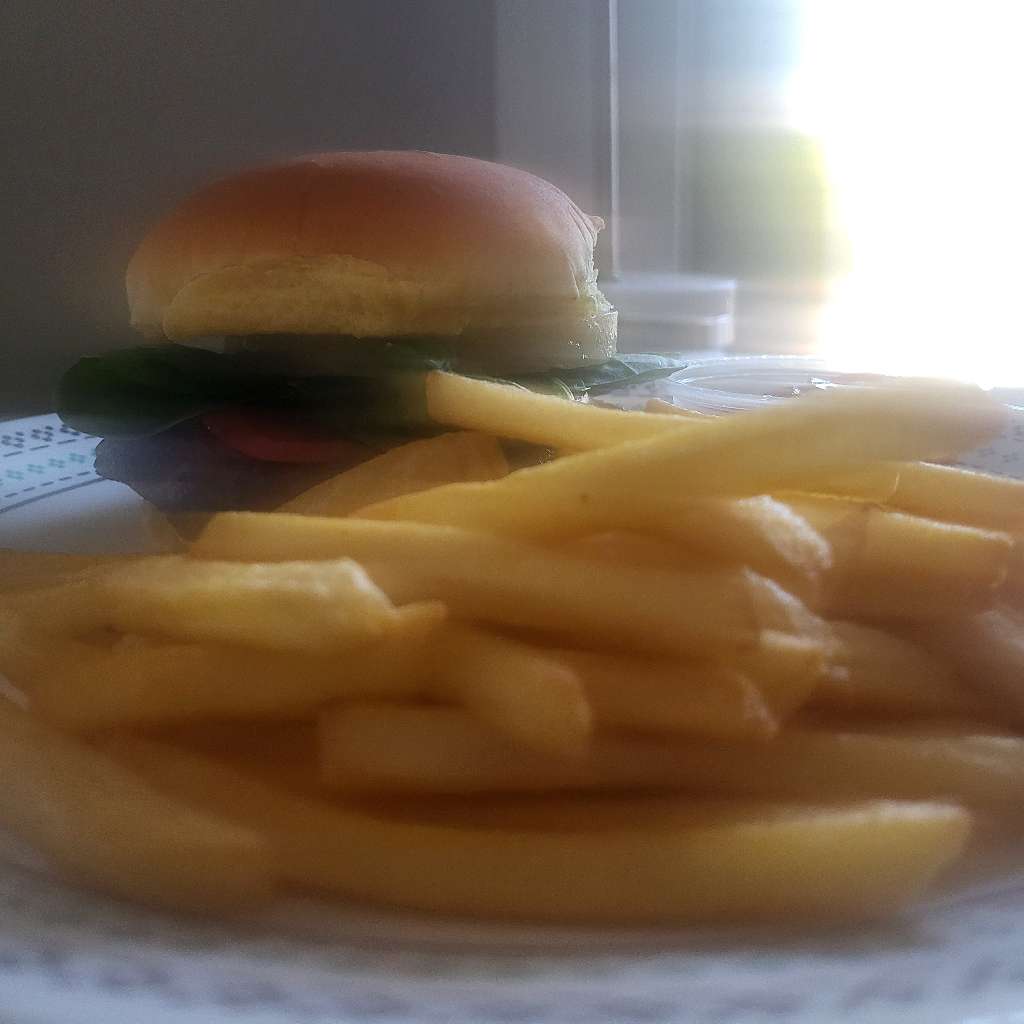
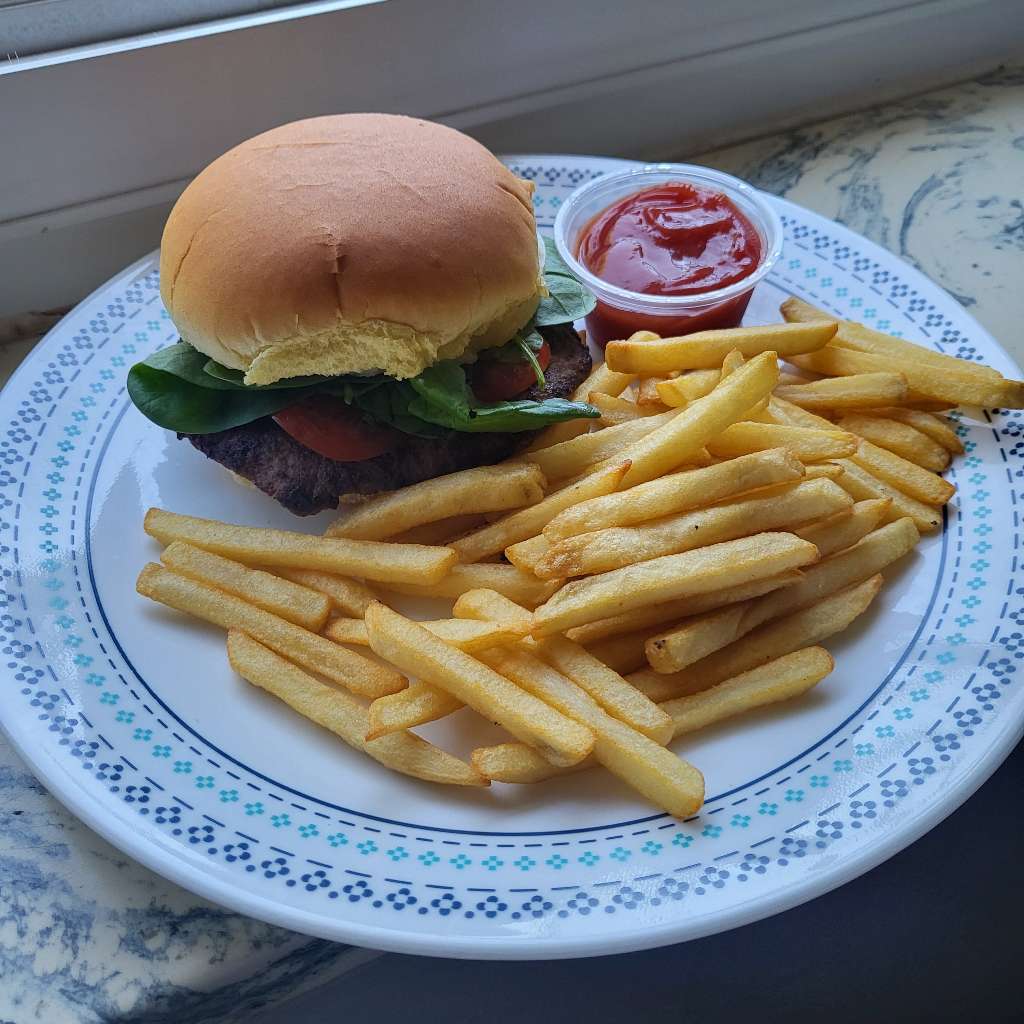
Remember when I said that I shouldn't use pre-made frozen burger patties? Well, I didn't listen to past self, and for some reason I thought that Aldi's smash burgers would be an easy dinner. Absolutely not. What. a. mess. Never ever ever use those frozen burger patties when I'm cooking burgers on the stove.
Well, the kitchen only really came with the oven, stove, and a fridge, so I had to bring my own microwave. My dad ended up buying me a cute, compact microwave from Walmart, and while my stove gets way too hot, my microwave only uses 700 watts of power! My old microwave was at least 1000 watts, and I had used it so many times to perfect my cookie-in-a-mug and my brownie-in-a-mug, and now I've got to start all over again to figure out the right amount time to cook these desserts.

I've made four chocolate chip cookies in this mug and in this tiny microwave so far, and I'm still tweaking things. I first tried 60 seconds, and then I added 10 extra seconds (shouldn't have added that extra 10), and then I tried 70 seconds, and then I tried 67 seconds 🫲🤪🫱, and then I tried 60 seconds by itself, and somehow this always ends up both too undercooked and overcooked at the same time.
But I think I've rambled on enough for one post. Thanks for reading, and maybe I'll be cooking something more exciting in my next post!
There are no eggs in this post, because I made something vegan. Like actually vegan, not vegetarian with a side of bacon, not vegan but I threw real cheese on top, 100% vegan. We were throwing a birthday party for one of the guys in the dance game community, and he's vegan so I had to make sure to not take any shortcuts here. I made some vegan "butter chicken", which contained no butter and no chicken.
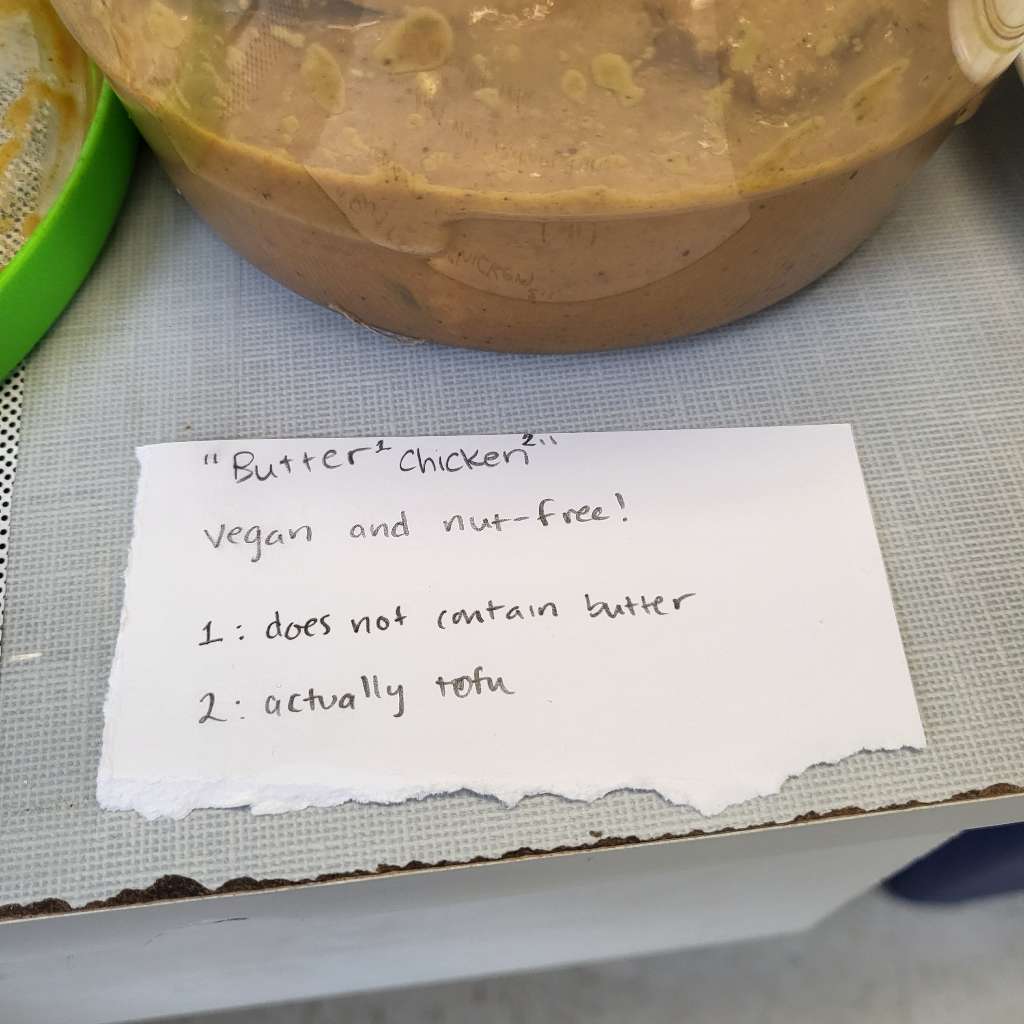
In fact, I even omitted the cashews from this recipe just in case anyone had a nut allergy, and I put all the cilantro in a bowl on the side to not ruin the dish for the cilantro-tastes-like-soap people. Unfortunately I was too lazy to make vegan naan, and the grocery stores don't really sell that, but I did buy some of that seedy bread that I like from Aldi.
This ended up being a huge hit, and it was all gone shortly after I got to the party. And I barely got to eat any! So I decided that I wanted to make another batch. I also thought that one block of tofu was not nearly enough for the amount of sauce in this dish, so I doubled it for my second batch.
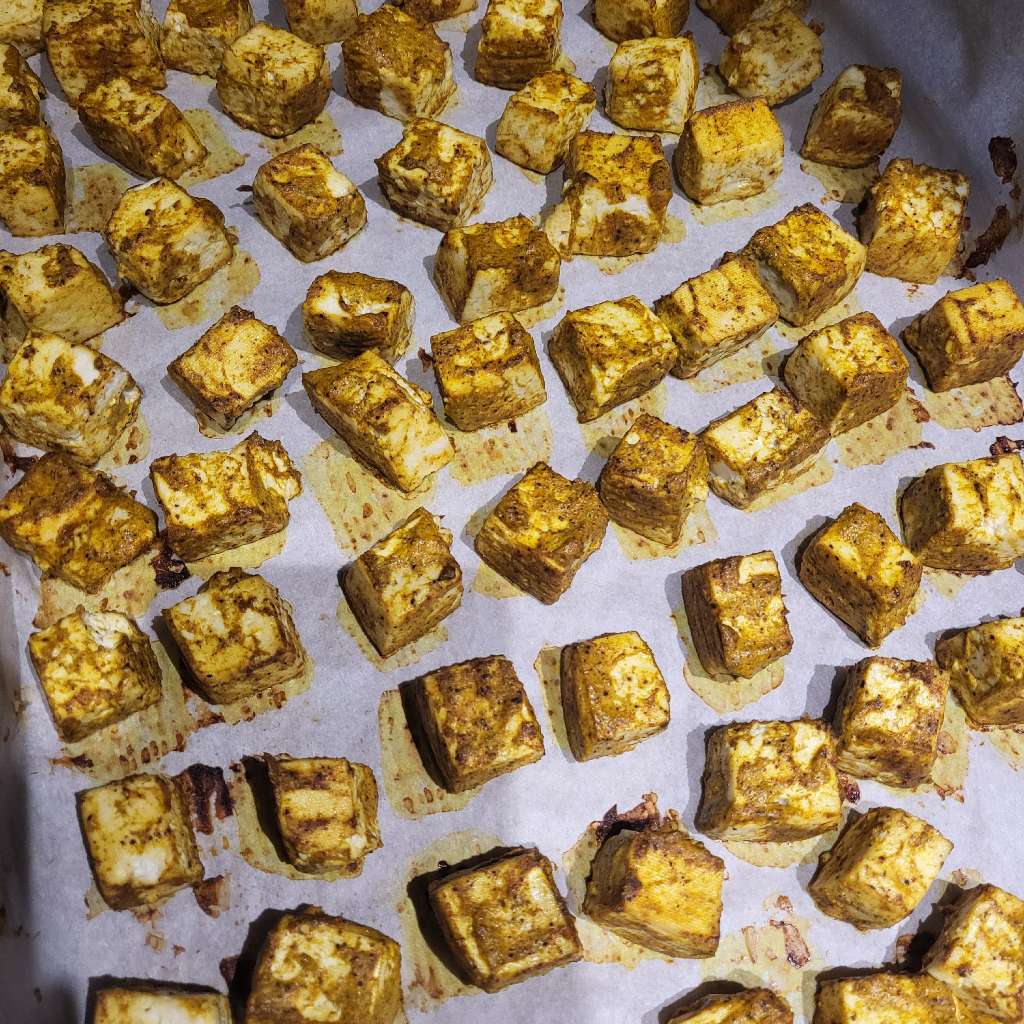
I love tofu, especially in curry. I used to follow curry recipes and replace tofu with chicken, now I'm replacing chicken with tofu!
A lot of the recipes I use will tell me to press the tofu to remove excess moisture, but I'm getting kind of tired of pressing it, and I decided to try something different here. I first cut up the tofu into cubes and I let that sit in a bowl of salted water for a while. When I'm ready to use them, I drain the water and pat the tofu dry a little. I'm certainly getting more flavorful tofu this way, and it seems to dry out the tofu just as well as pressing.
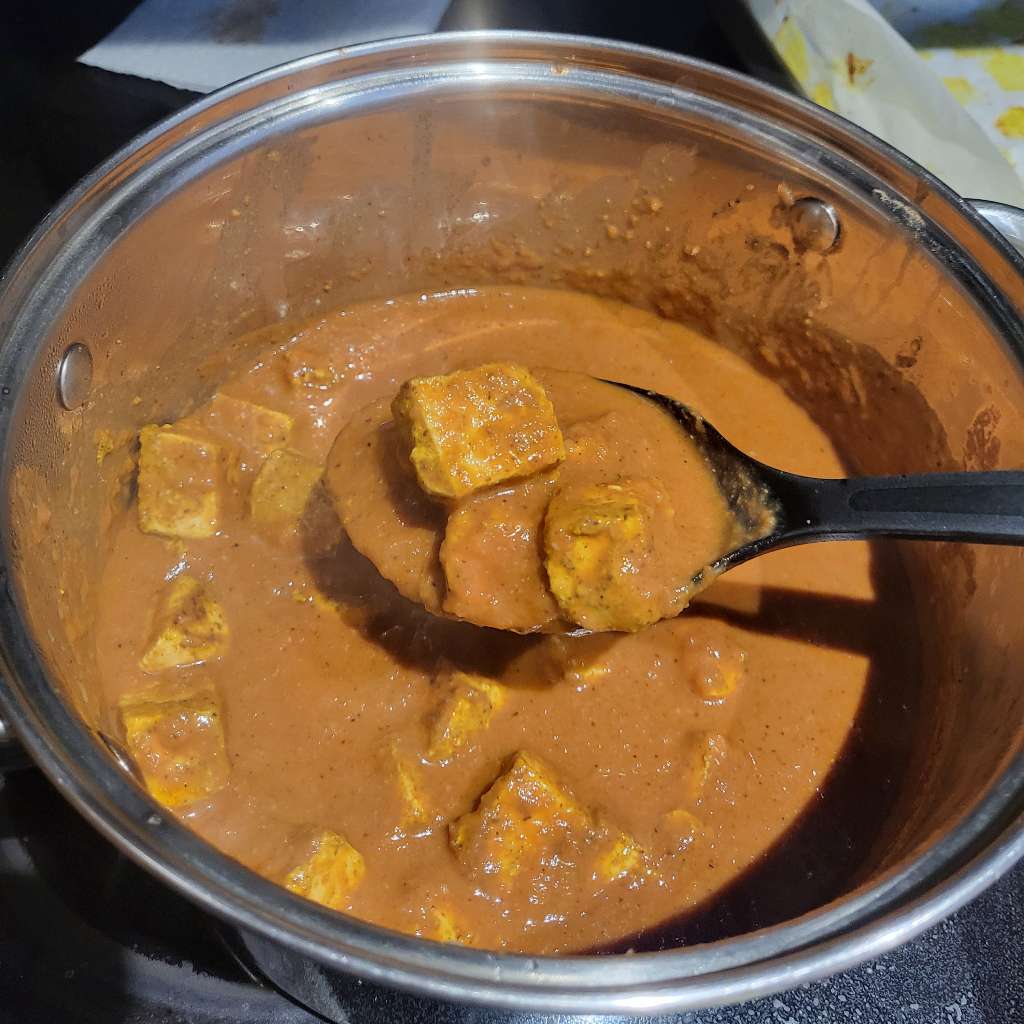
Okay, I didn't actually make this completely vegan for the second batch. It is really hard to find a single serving container of non-dairy yogurt. I bought coconut yogurt for my first batch, but I had to trek all the way to Whole Foods and spend over $2 for it. I just bought plain Chobani Greek yogurt for the second batch.
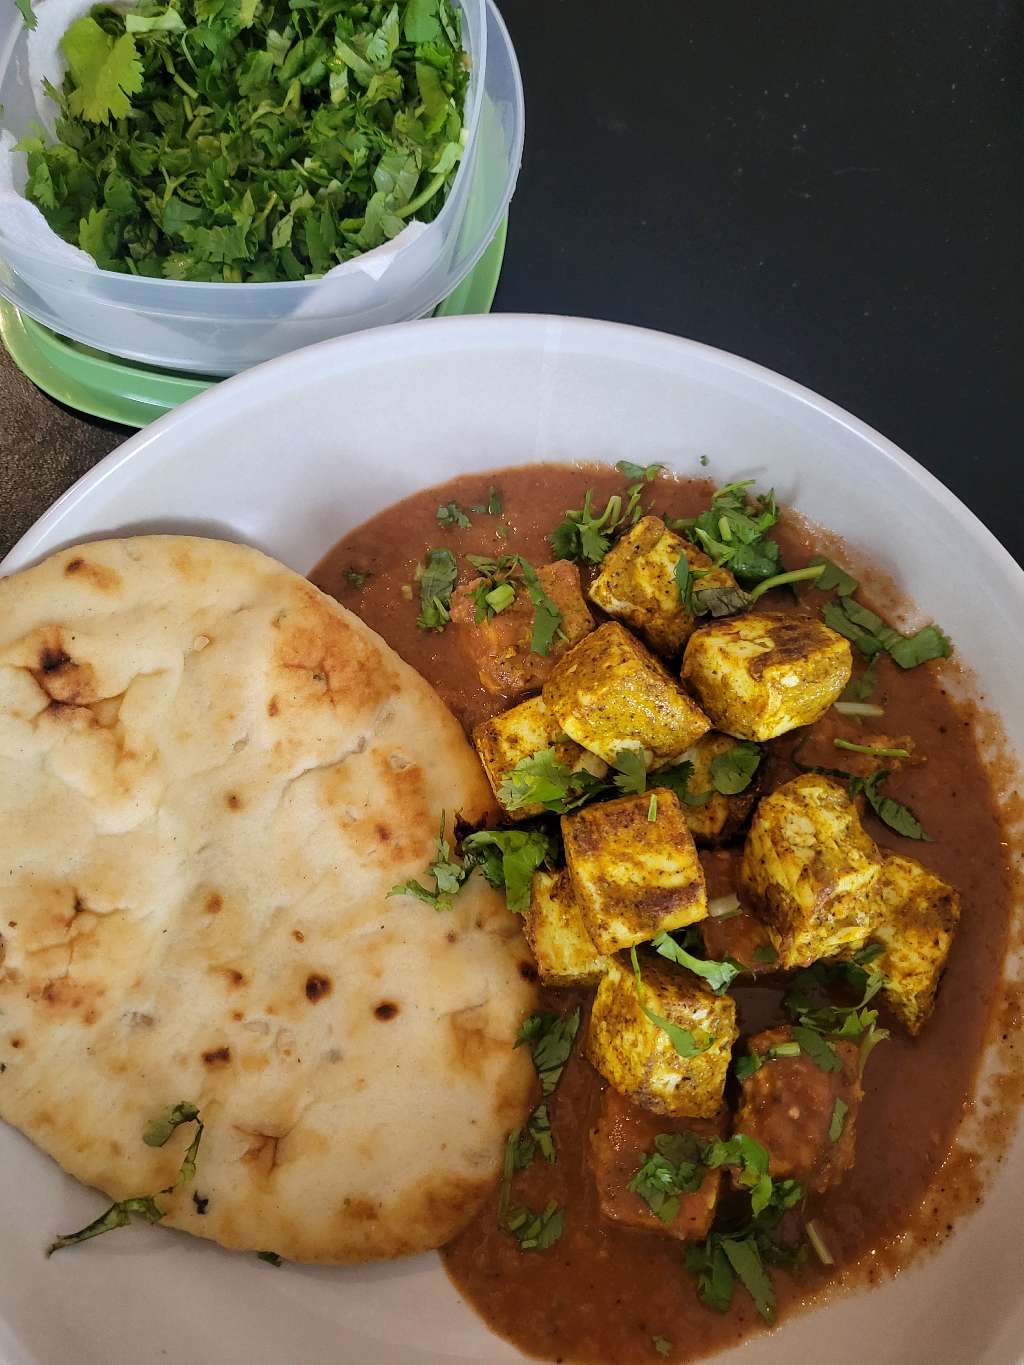
I may have had a little too much food for this second batch because I felt like I had to eat 10 meals of it just to get through it all. But it was very good! At this point I've made this dish a bunch of times, so it's basically one of my go-tos.
